Week 8 – Wildcard Week
Overview
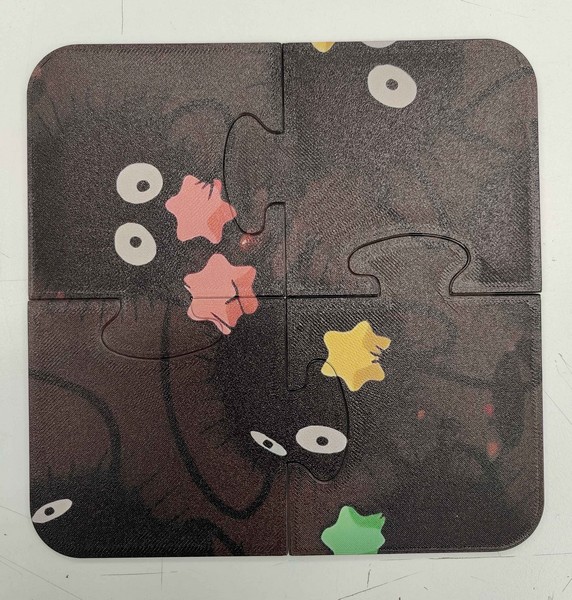
For the wildcard week, the assignment was to design and produce something with a digital process not covered in another assignment. I chose to perform UV printing on a 3D printed surface. I decided to 3D print some jigsaw-shaped coasters and print an image on the pieces.
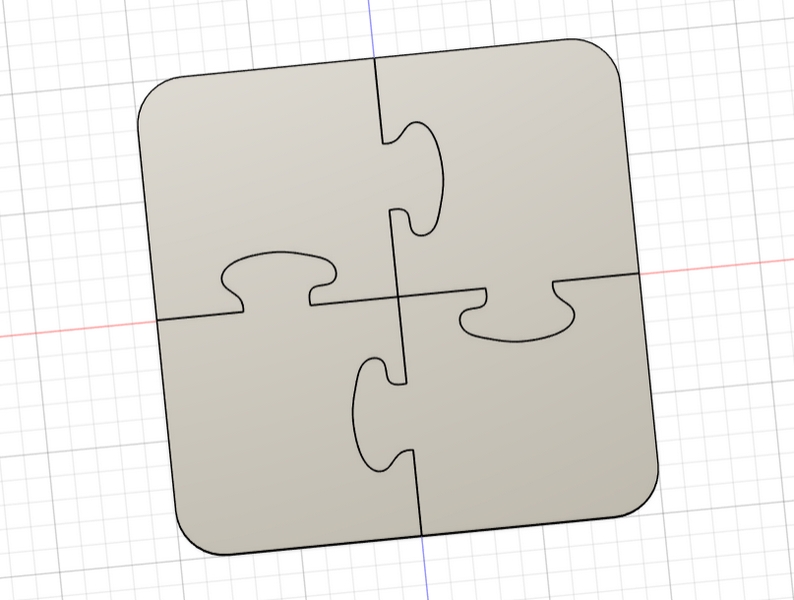
3D Design
I used Autodesk Fusion for the 3D design. From Modify -> Change parameters, I set the following three parameters.
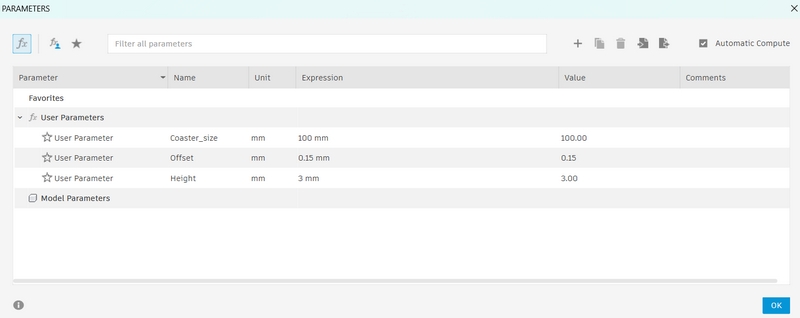
On the xy-plane, I created a sketch where I made a square with dimensions Coaster_size.
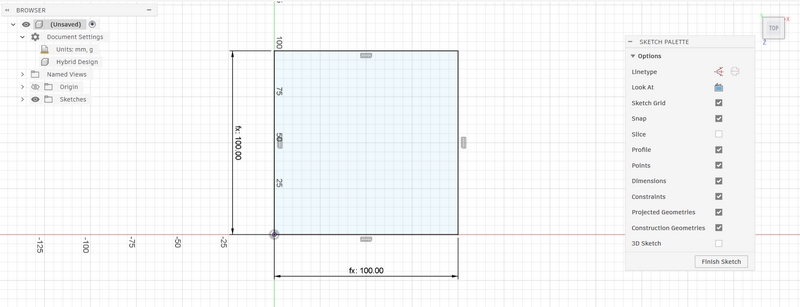
Then I selected Fit Point Spline, and made a random shape on the bottom line, moving the anchor points around until I was happy with the shape. I selected Offset from Modify, and after selecting the curved line, set an offset with parameter Offset. This created a duplicate 0.15mm away from the curve.
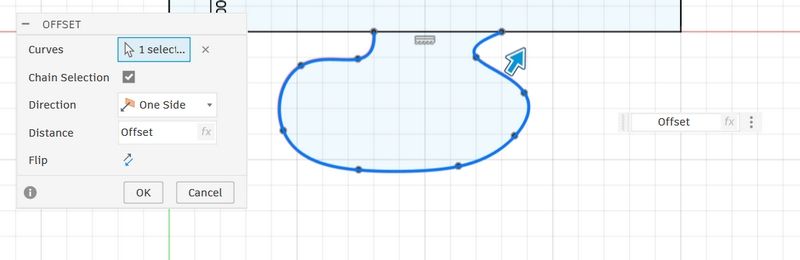
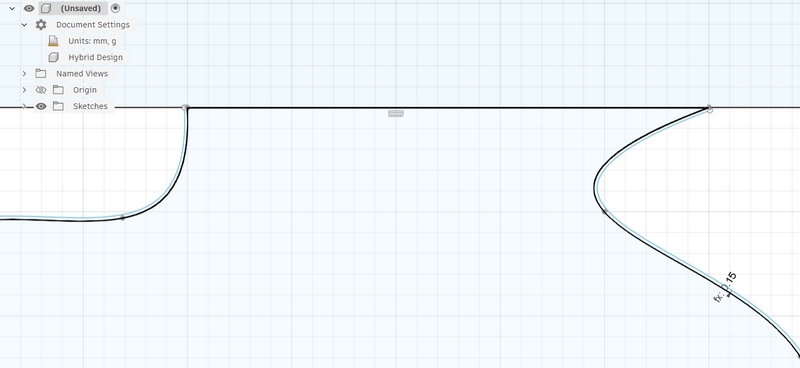
The offset line can extend inside the square or be slightly short of it. The way to fix this is to simply Trim the excess part or Extend the short part.
To create the negative version on the other side of the square, I created a Circular Pattern with quantity 4 and deleted the unwanted curves.
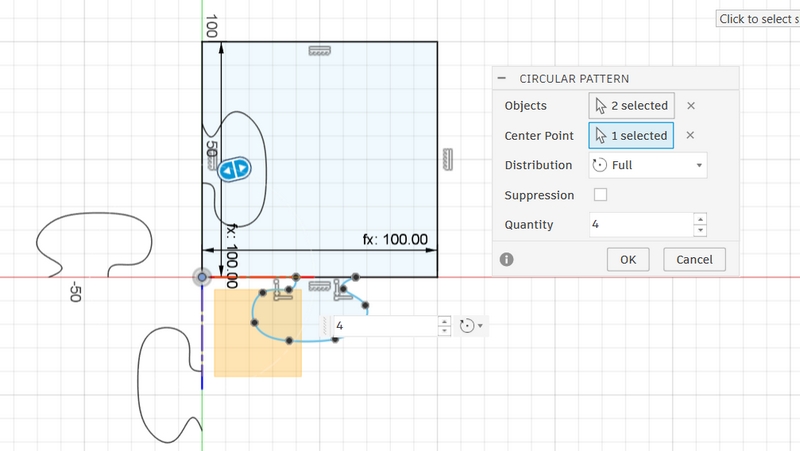
Finally, I trimmed parts of the square inside the curves. I also trimmed the outer offset line from the positive curve and the inner line from the negative curve. This ensures that the pieces can fit together nicely.
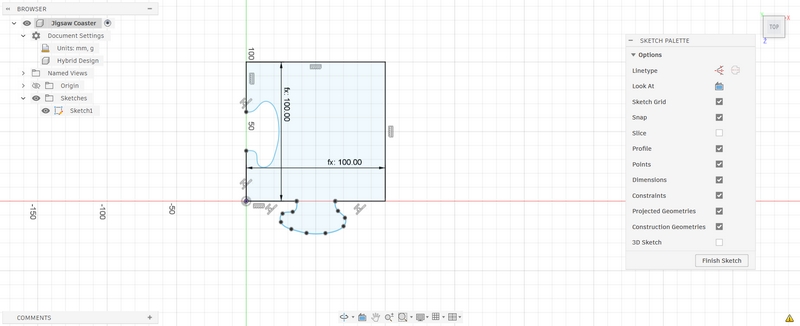
I finished the sketch and extruded it by parameter Height, which was set to 3mm. I also offset the flat sides of the piece by -0.1mm just to make sure the final piece would be easy to separate.
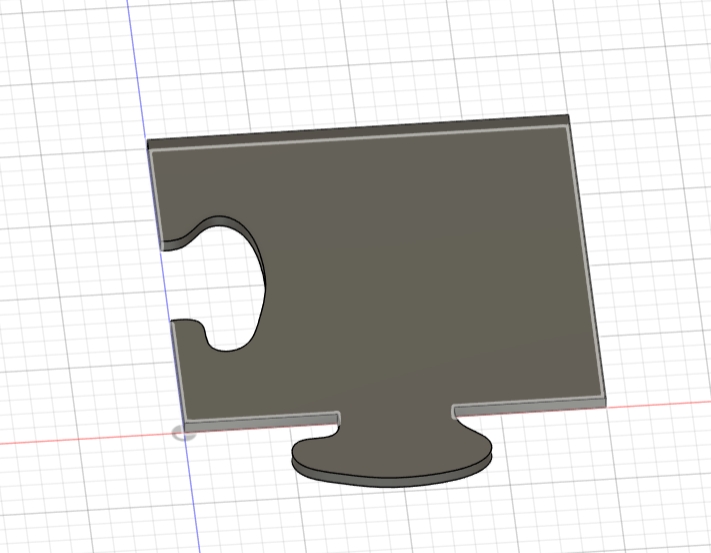
Next, I set a 20mm Fillet on the corner. I also set a 0.5mm Chamfer on the bottom edges. Chamfer is usually needed to help the pieces slot in smoothly.
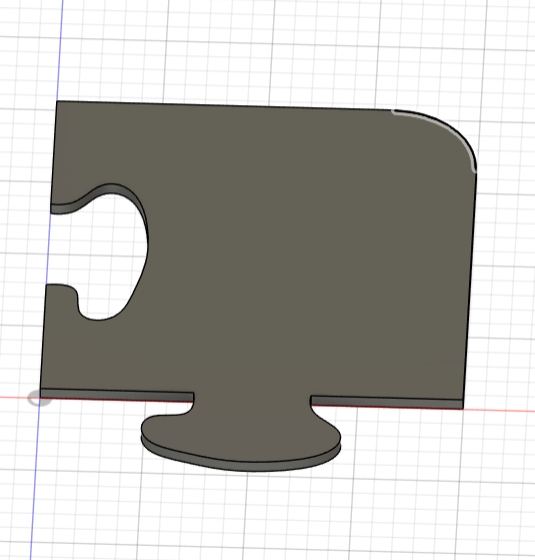
Finally, I created a Circular Pattern on the whole body to create the four pieces.
3D Printing
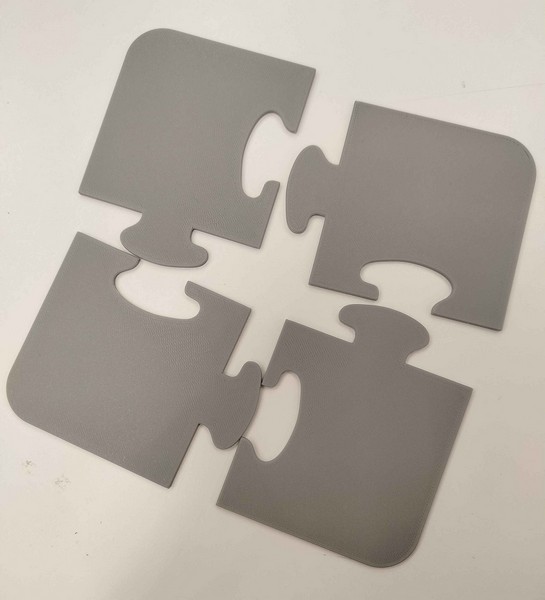
I used the Creality Ender 3 Pro to print my coaster set. The whole process took a little more than 4 hours. The 3D Printing process is documented in the week 5 page.
Despite the 0.1mm offset on the flat edges, there were still small parts of the jigsaw pieces that were attached together. I had to break them off by force when using an exacto knife didn't work.
UV Printing
To prepare the design, I wanted to transfer the top face directly to Inkscape. So I opened sketch mode on the xy-plane. I selected Create -> Project, and then selected all four faces. I finished sketch and this produced a new sketch on the left-hand panel. I exported the sketch as .dxf which I then opened in Inkscape.
The software for UV printing, Mimaki Raster Link, takes .pdf files. I made two files: one with the image to be printed, and one with the border of the image and the border of the 2D design I exported from Fusion.
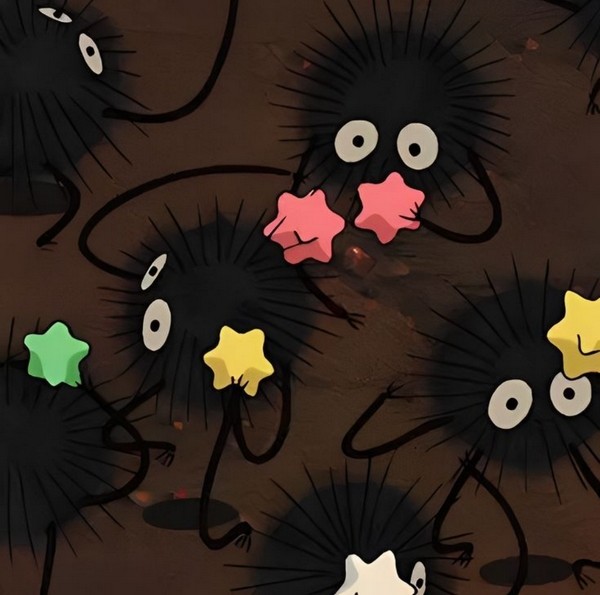
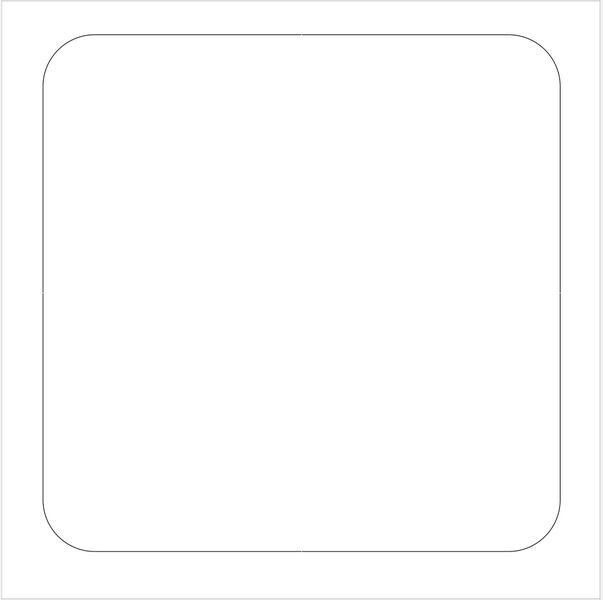
I imported these files into Mimaki. I also added a White Plate from the app itself under the image layer. This is an optional step that can be taken to make sure the image looks good on the base. As I had used grey filament for 3D printing instead of white, Behnaz had suggested adding the white layer if I was worried about the image not showing up clearly. Then I sent the files to the printer.

To start the print, I had to do two things first: set the origin and set the height of the table. To set the origin, I selected Menu from the control panel, and used the 4 buttons on the right to move the table to the desired position. There is a blue light to help with this. The origin in this device is at the bottom left.
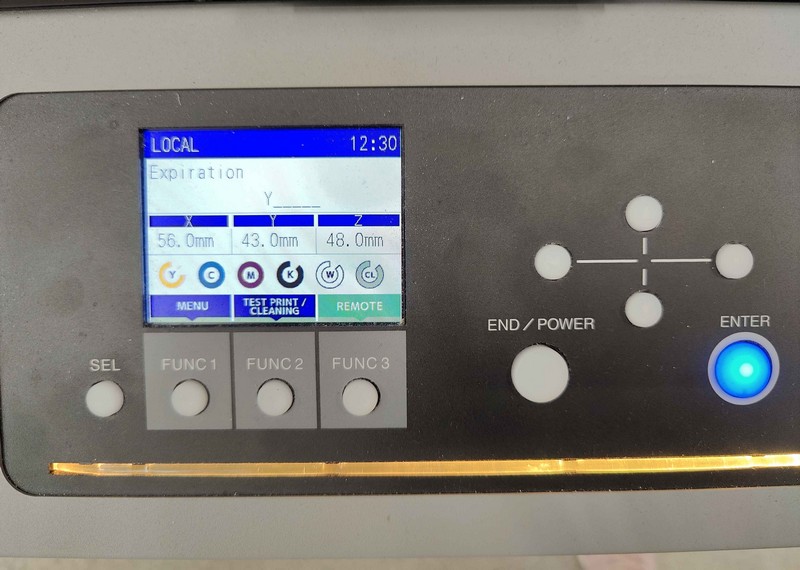
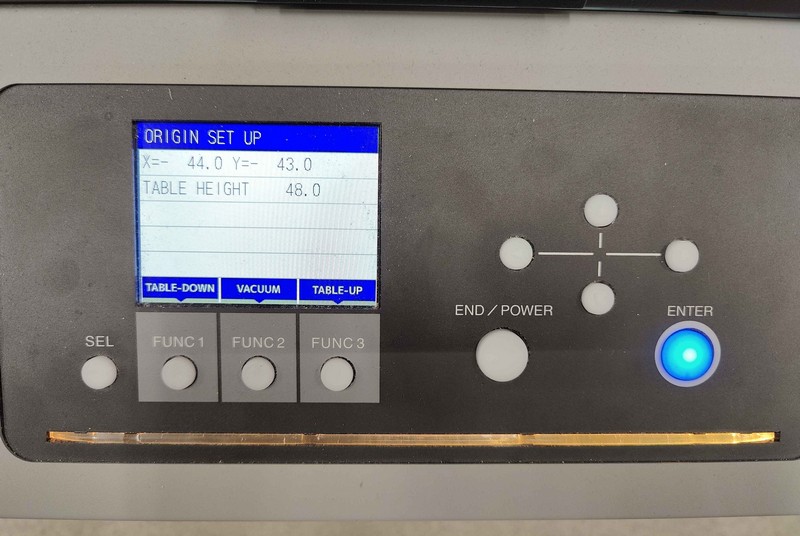
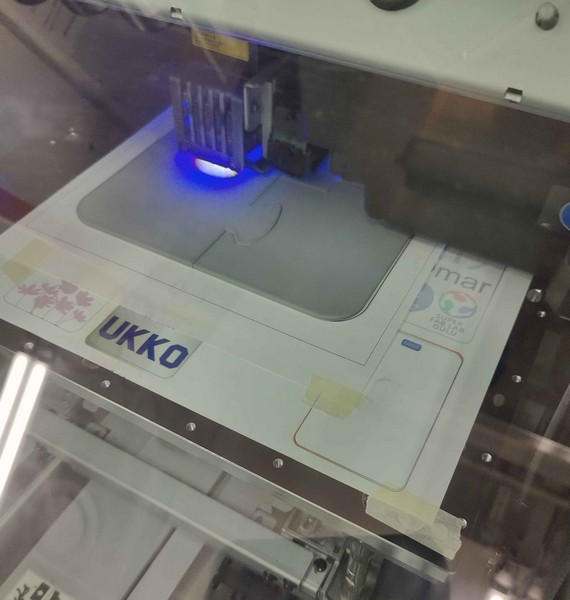
Before I can print on the coaster, I have to print the outlines on a sheet of paper. Then I placed the coasters on the paper matching the outlines using double-sided tape. This way, we can make sure the final image will go exactly where we want it to. To set the height of the table, I selected Head Height from the Menu and used the arrows to move the table. The height of the coaster is 3mm so I set the Height to 5mm.
The job took only a few minutes. The printer printed the white layer and the image layer simultaneously instead of finishing the entire white layer first, which was surprising to me.
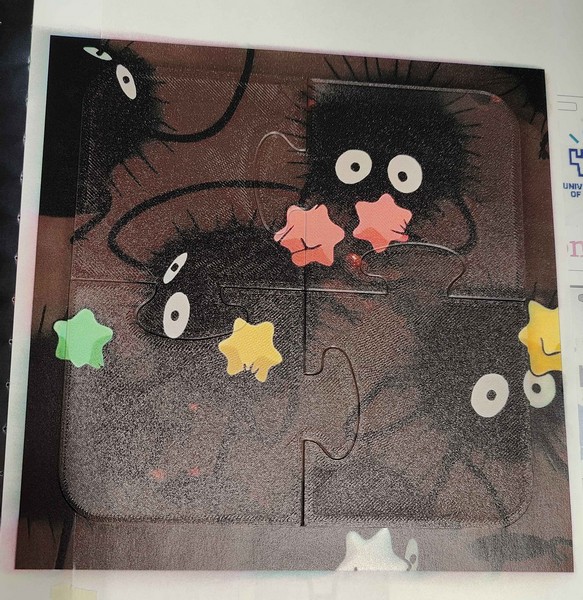
The image I used was much bigger than my coaster set and I was not worried about perfect placement, so the task was quite simple for me. The print was very high quality and the final product looked like this:
Design File
Learning Outcome
- UV Printing
- More 3D Design
Reflection
This week was quite fun for me and I am very happy with the final product. I made the jigsaw design using a tutorial and learned more features in Fusion I didn't know about before, such as Spline. It's always great when I can make something creative that can also be used day to day.