Week 5 – 3D Scanning and Printing
Overview
Our tasks this week included both group and individual work, involving 3D printing and scanning.
- As a group, test the design rules for 3D printing.
- Design a 3D model of an object that cannot easily be made subtractively.
- 3D print that object.
- 3D scan an object.
Group Work
Our instructors Julius and Behnaz guided us in our group work where we 3D printed multiple small objects with various features in order to test the design rules of 3D printing. We analysed each object to understand how the process works and this knowledge will be useful when designing and printing bigger objects in the future.
3D Design
The design criteria for this assignment is something that cannot be created subtractively. According to our lecture in Moodle, "Additive manufacturing processes build objects by adding material layer by layer, while subtractive manufacturing removes material to create parts." 3D printing is an additive manufacturing process that builds objects by adding one layer at a time, with each layer combining with the previous layer until the object is complete. Subtractive manufacturing involves removing materials by cutting, boring, drilling, or grinding.
A lot of objects can be made both subtractively and additively. If I were to design a simple rectangular pen stand, for example, it wouldn't fit the criteria as it can easily be made by grinding a cuboid shaped block. Some features that ensure an object can only be made additively are, according to Neil's lecture from FabAcademy 2019, nested features, overhangs, parts within parts.
With all of this in mind, I wanted to design a flexible object with a movable joint. I took inspiration from different animal-shaped flexible toys, but for the main part I only made a simple cylindrical shape with a flat base. For the joint, I designed two interlocking rings connecting the shapes.
This design is difficult to make using subtractive manufacturing, which requires the tools to physically reach the area being cut. For the joint, there is no way to insert the tool to carve the inside of the chain. In subtractive manufacturing, the parts are also assembled after being made separately, but in my design the parts are interlocked together and cannot be assembled without breaking.
This design is easy with additive manufacturing or 3D printing as it builds objects layer by layer, and the chain links are formed in place.
For this design, I simply made two half cylindrical shapes, and added two rings between them. Each ring is attached to one cylinder, and is interlocked with the other so they are not in contact. This will esure they do not fuse during printing, and will be free to move.
Two make the half cylinder, I first made a semicircle of diameter 20 mm in sketch mode in Autodesk Fusion. I extruded the shape by 15 mm to get my first object. Then I simply replicated this object and moved it to my desired position.
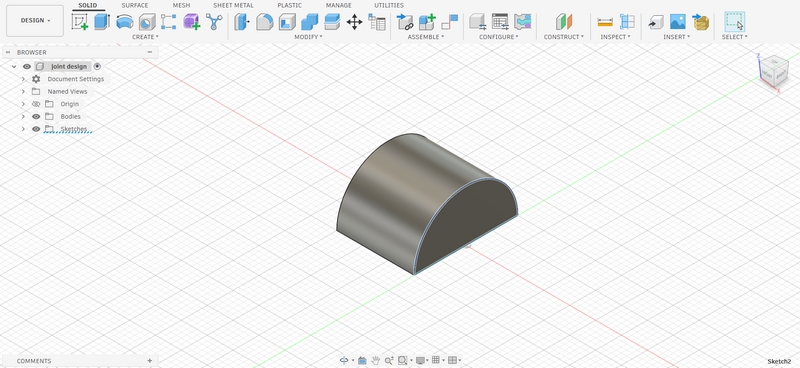
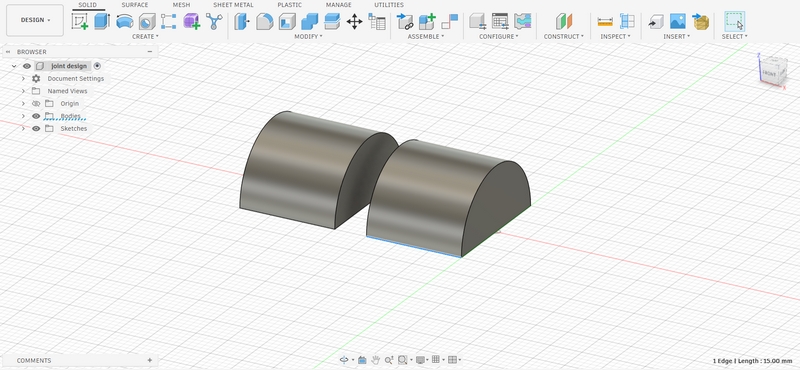
For the rings, I created a torus, which is basically a donut shape. For the parameters, I used 7 mm for width and 1.5 mm for height.
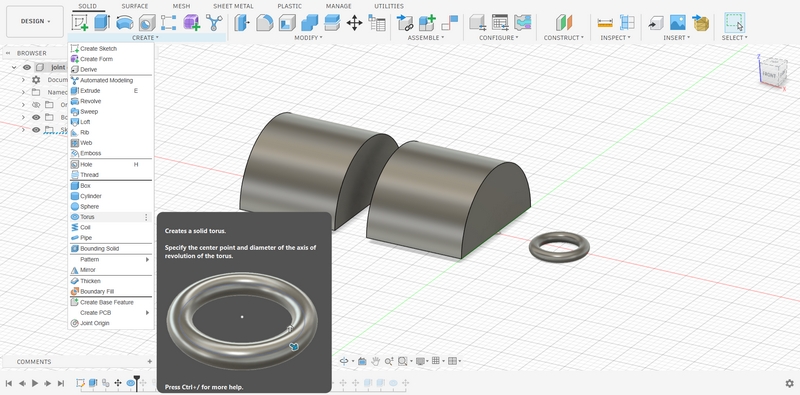
I moved the ring so half of it was inside one of the cylinders. I replicated it and rotated the replica by 90°, before attaching it to the other object. I moved them around a bit until I was happy with the design and the rings weren't touching each other.
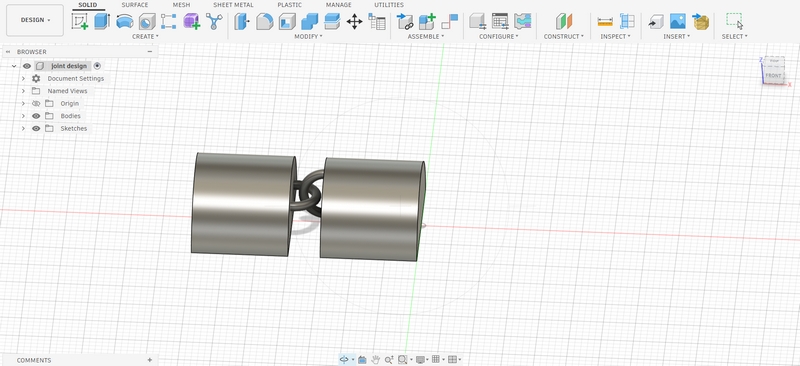
It was now ready for printing.
3D Printing
To print this object, I used the Prusa Core One L from our Fab Lab. I imported the design to PrusaSlicer and readied it for printing.
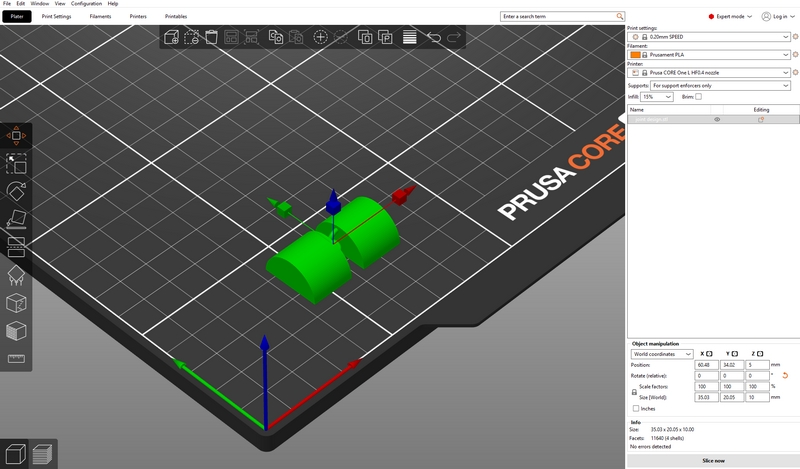
I used a brim, as suggested by Behnaz because the object was too small. Brim is a base layer that provides stability and ensures adhesion to the build plate. It is particularly useful for very small or tall objects and prevents breakage or warping. It also makes it easy to remove the product from the plate without breaking it.
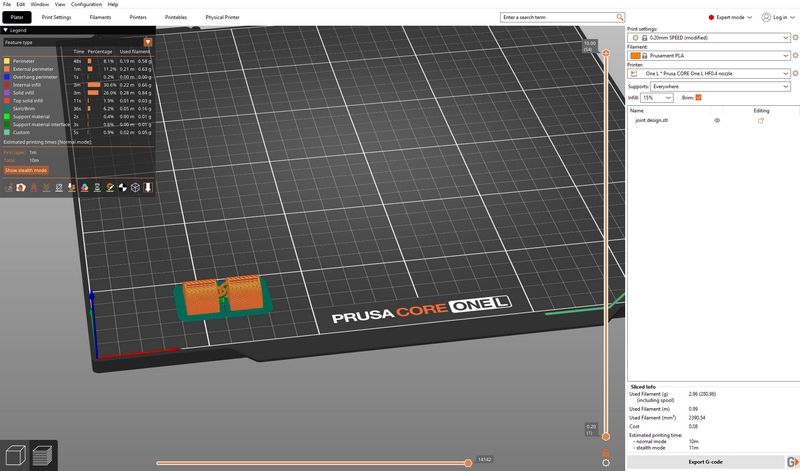
I also used support, as shown by the light green layer above. As 3D printing cannot be done on air, for parts of the object that are suspended in air, for example the chain links, a support is needed.
The printer had a white roll of filament loaded, and I wanted a black one. To unload the filament, you have to use the screen on the printer and choose Filament -> Unload Filament.
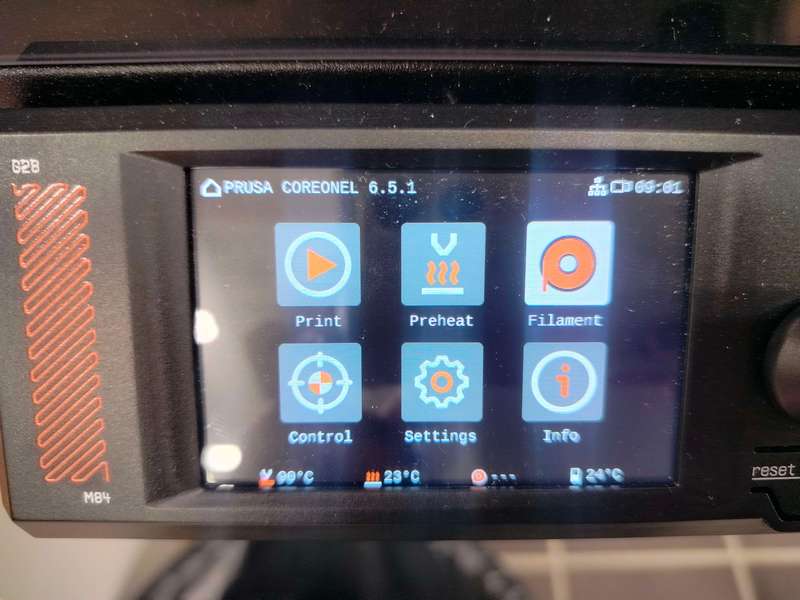
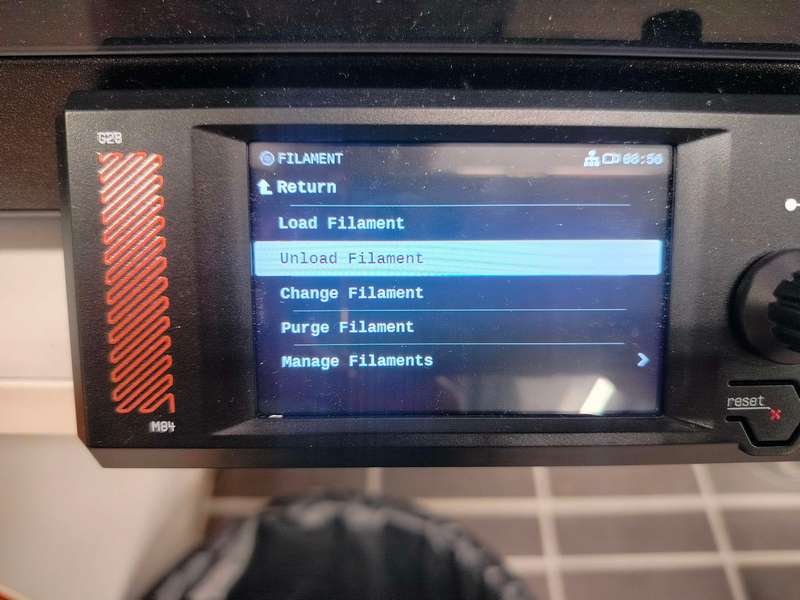
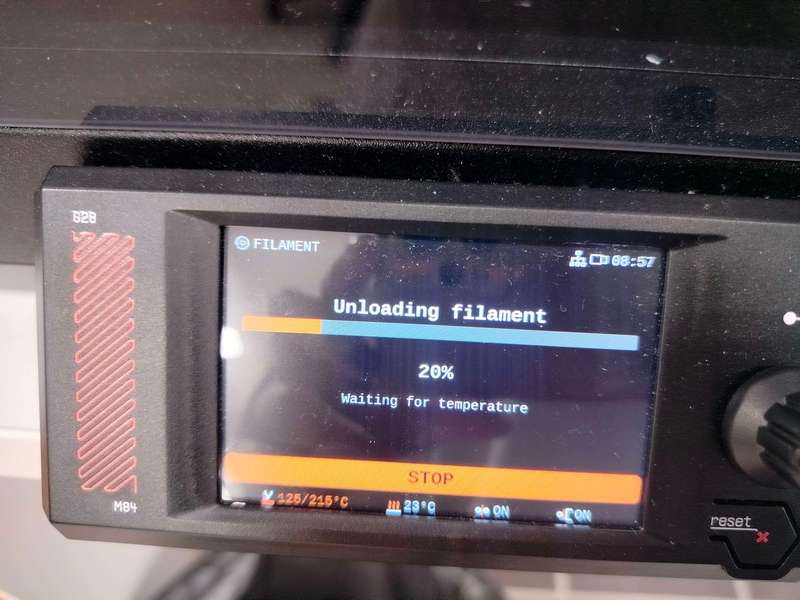
In the same way, I chose Load Filament, and pushed the end of the roll through a nozzle until it hit the sensor. The printer sucked the roll in until the previous white filament was gone.
For my design, I chose the jet black PLA material. After loading it, I had to wait for the printer to reach the desired temperature, which is about 210°C for the nozzle and 60°C for the base plate.
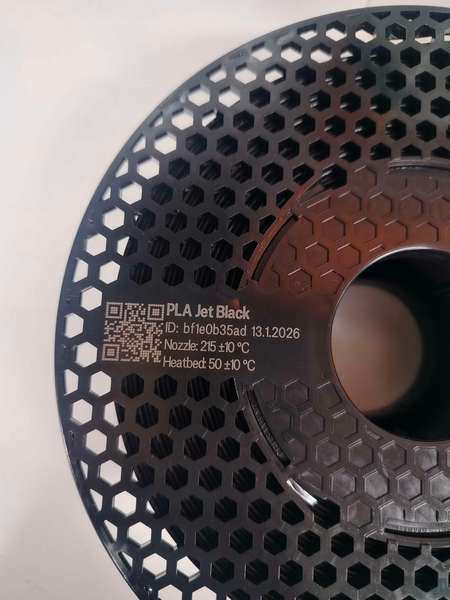
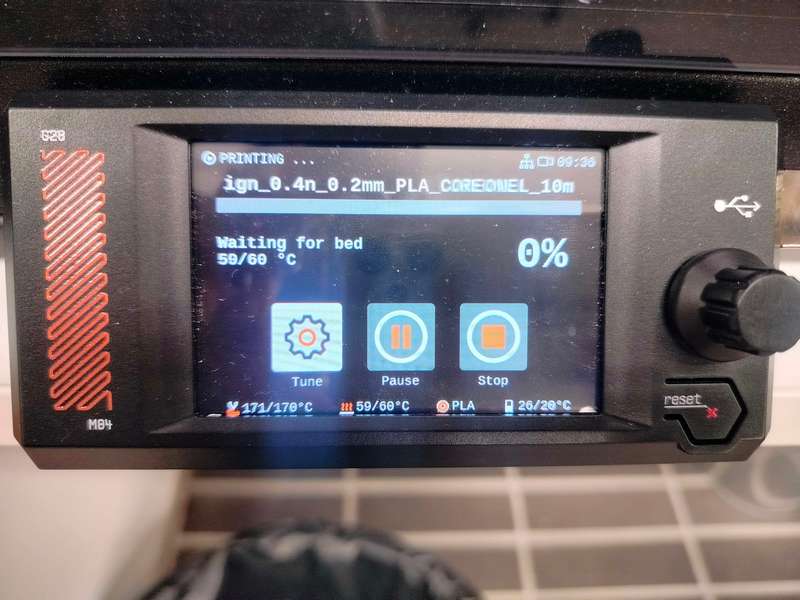
Finally, I pushed the design to the printer and started printing. The design was very small, so it took only 9 minutes to print.
When it was done printing, I let it sit for about 10 minutes. If I tried to move it immediately, the product may have been bent out of shape or the plate might be too hot to touch. After I removed the material from the plate, I used a pair of pliers to remove the unwanted material, i.e., the brim and the support.
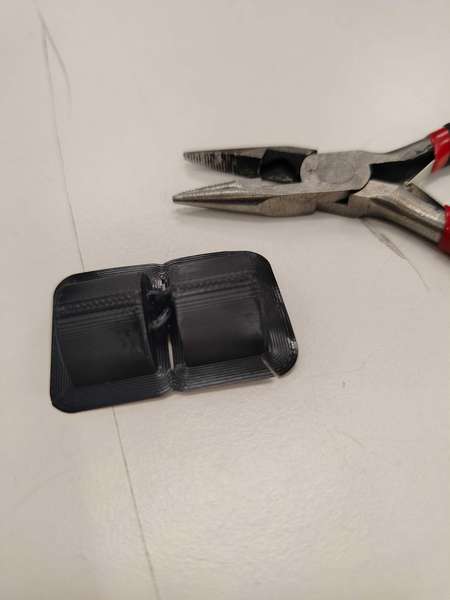
The final product looked like this:
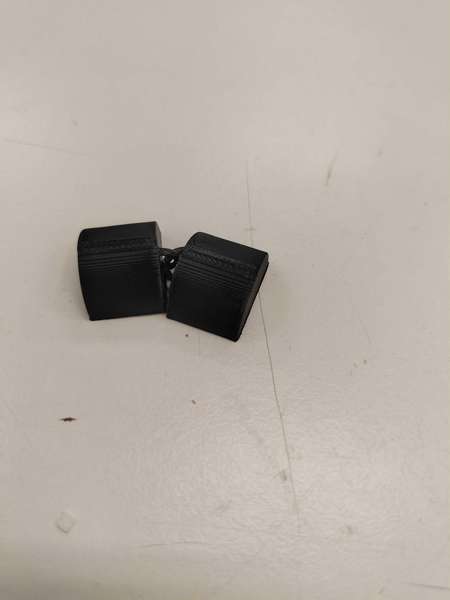
The chain links were very fragile and would definitely break if I twisted too hard, but they formed a movable joint as intended. I modified my design to make it bigger because the first one was too small and I printed the second one without a brim. It took about 13 minutes to print, and I had no trouble removing it from the plate without the brim.
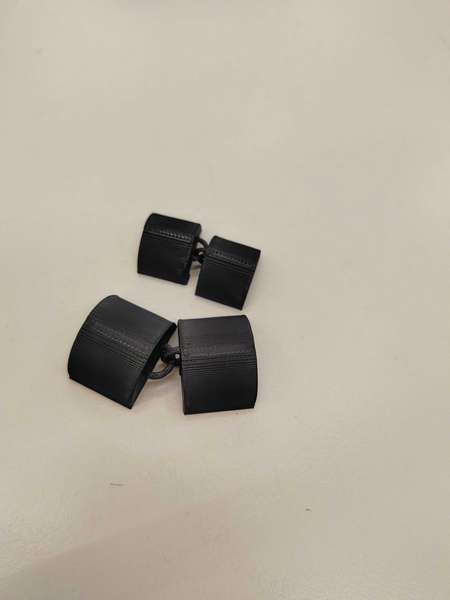
Overall, it was a good learning experience and I intend to explore this design further to make some form of a keyring.
3D Scanning
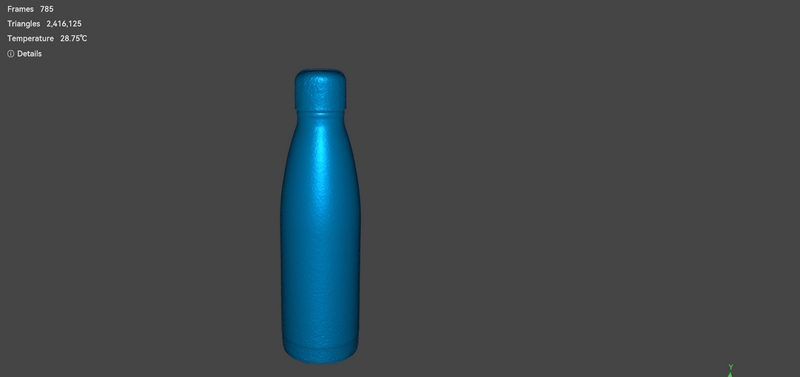
Our second task for the week was to 3D scan any object. I chose my water bottle, and the scanner I used was Creality Ferret Pro.
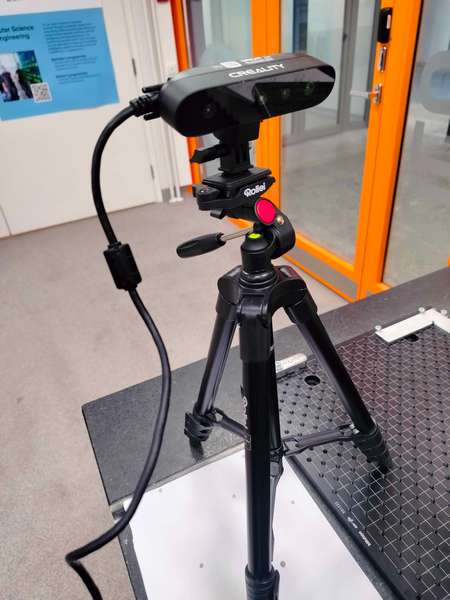
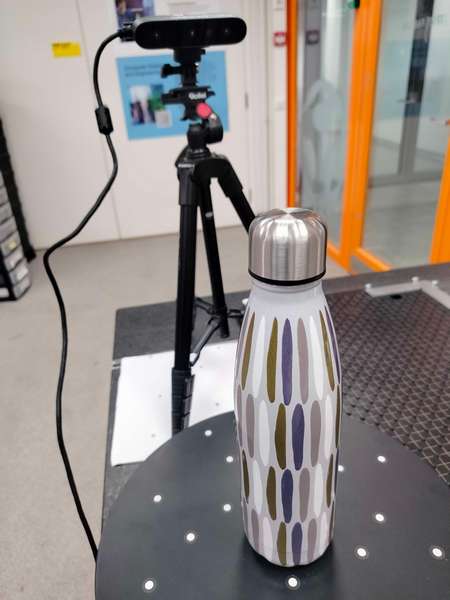
Moving the scanner around the object and trying to get every angle was quite difficult as I also had to maintain an optimal distance. People walking by in the background can also cause issues. After several minutes of allowing the scanner read from all angles, I finally got the 3D scan.
Design Files
3D Print Design File
3D Print Design STL
Learning Outcomes
- Understanding additive and subtractive manufacturing
- Different properties of 3D printing
- 3D scanning
Reflection
I was quite excited about learning 3D printing as I have seen many different fun and creative objects being made online. The group work helped me understand the properties of 3D printing, which is useful when designing complex objects. For example, understanding when you need support, and which direction to print based on the type of texture you want on your final product, is important. I enjoyed designing the object with the movable joint and watching it being printed in real time. I understand how 3D printing has high potential and can become a regular household tool in the future.