Week 7 – Molding and Casting
Overview
For the molding and casting week, we were to perform the following tasks:
- Review the safety datasheet of each casting material.
- Make and compare test casts of each of them.
- Compare printing vs milling molds.
- Individually: Design a mold around the process you'll be using, produce it with a smooth surface finish that does not show the production process, and use it to cast parts.
Group Work
The group work was supervised by instructor Toni Kyllönen where we learned the basic safety procedures when using casting materials and about the different materials. We also cast some test objects and compared the results.
3D Design
I wanted to cast a simple keychain. I was unsure about what shape to use but eventually settled on a simple flower shape. Before importing the flower from Inkscape to Autodesk Fusion, I made a block to hold the flower.
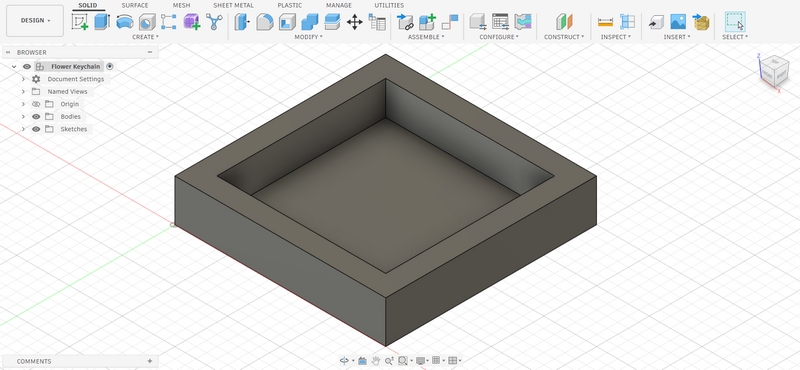
For this, I drew a 10cm by 10cm square in sketch mode, which I then extruded by 20mm. I selected the top surface and created a sketch again, where I made another square of dimensions 8cm. This I extruded inwards by 16mm. This is now the box that will hold the flower keychain.
I selected the inner surface and opened sketch mode again. Here, I inserted the .svg file of the flower. I resized and positioned it roughly in the center. Then I finished the sketch and extruded the flower.
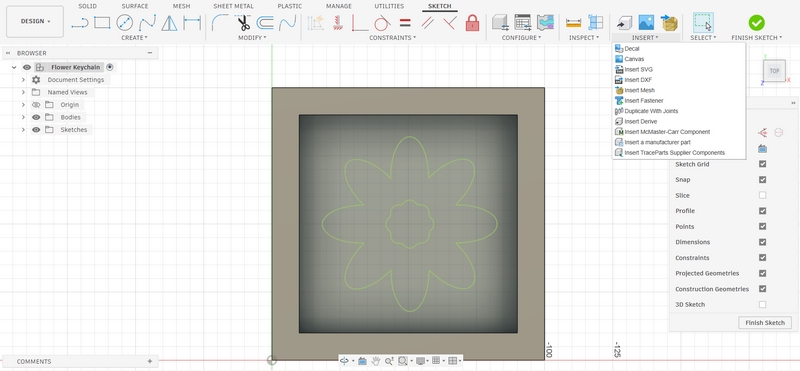
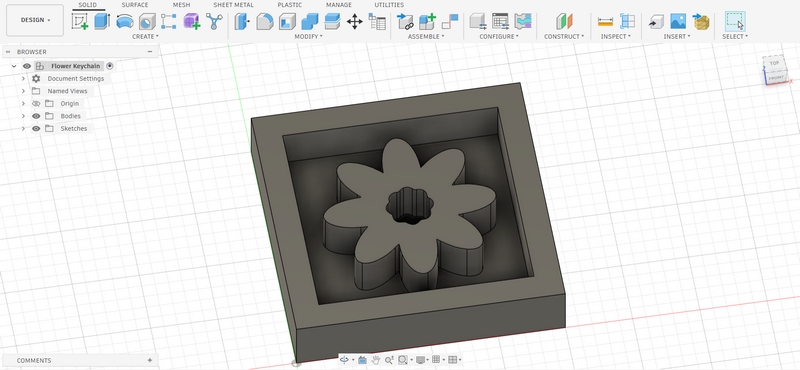
At this point, the flower was 16mm high but the dimensions would be changed later.
Again, in sketch mode, I created a small circle at the edge of one of the petals. I extruded it inwards to create a hole for the keychain. I also played around with the heights as 16mm seemed too large for a keychain. The final heights I chose were 3mm for the flower and 6mm for the outer walls.
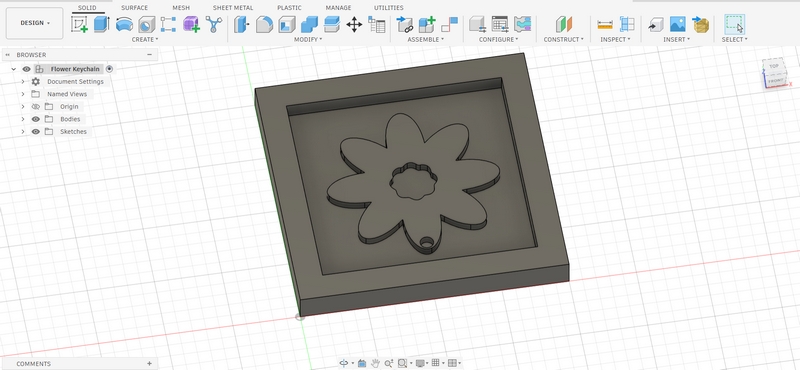
This design could be 3D printed but one of the criteria for this week's assignment was to produce something with a smooth surface, which could not achieved with a 3D printed mold. So the next step was to create a toolpath for CNC milling. I exported the .stl file of the design.
Creating Toolpath
After transferring the .stl file to the lab computer, I opened it with Modela Player 4 in order to create the toolpath. Then I selected New Process from the menu on the right.
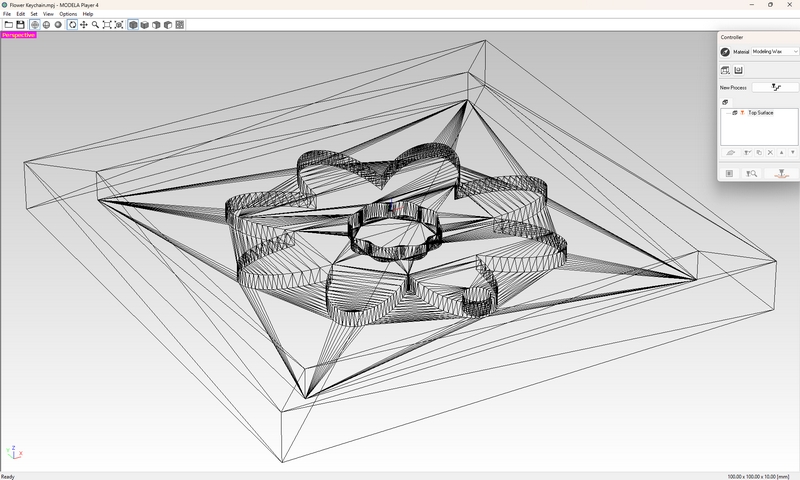
From here, I selected the following settings:
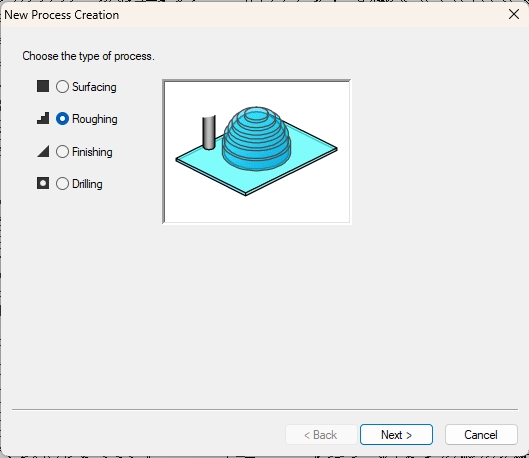
First, select Roughing. This setting allows the milling bit to cut the overall shape, which leaves a rough finish.
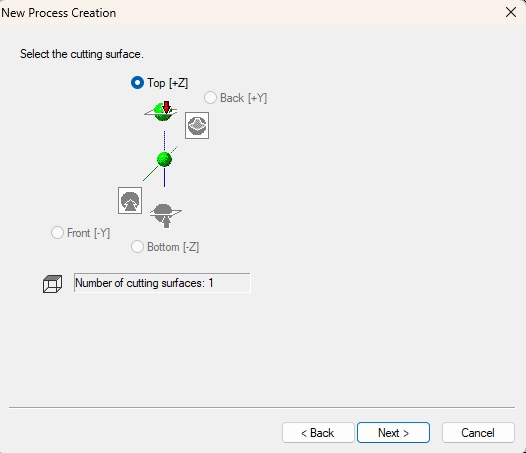
Top or Z+ for cutting surface. The mold will be cut from the top of the block.
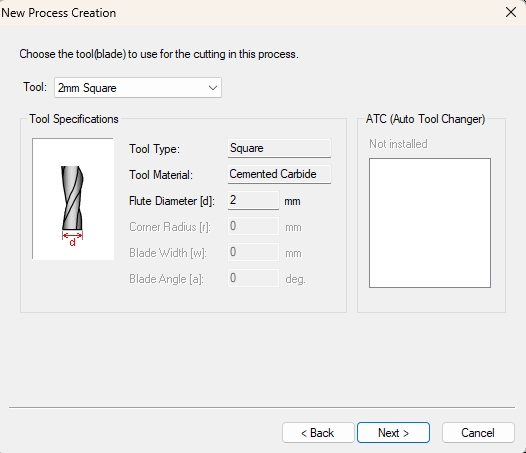
Select tool type 2mm Square:
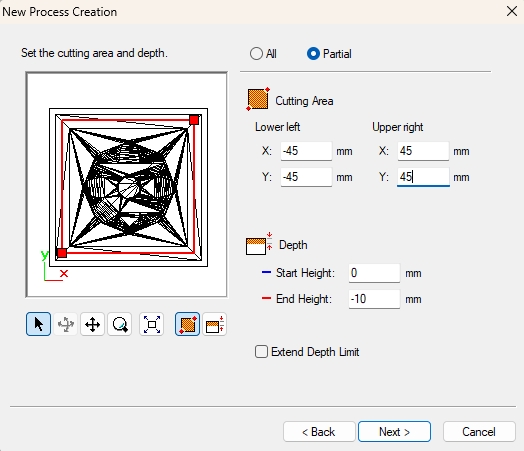
Select the cutting area. As I am just making a mold for the mold, there is no need to cut the entire block; the silicone can be poured directly into the wax block. So I selected the inner area of the block that was designed. The End Height, -10mm, is simply the height of the overall object.
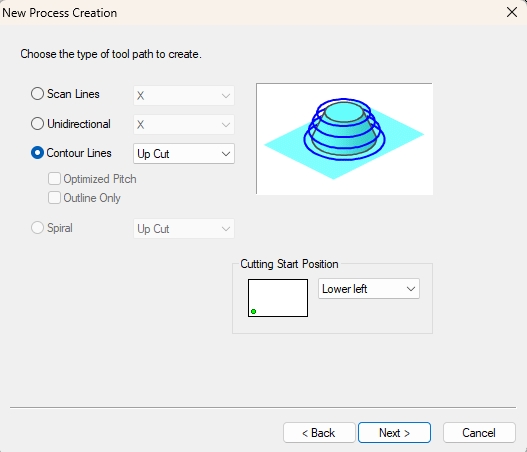
Select Contour Lines:
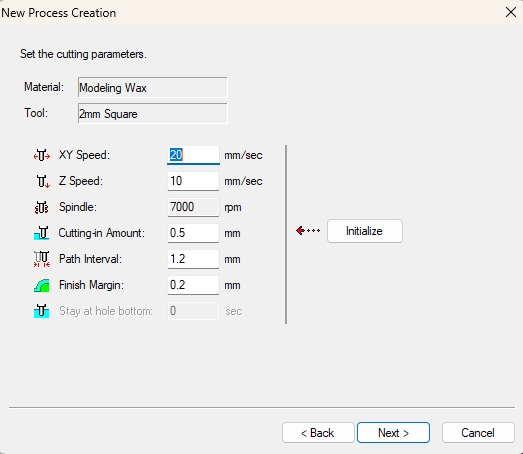
Cutting parameters are left default as the settings are chosen from the tool:
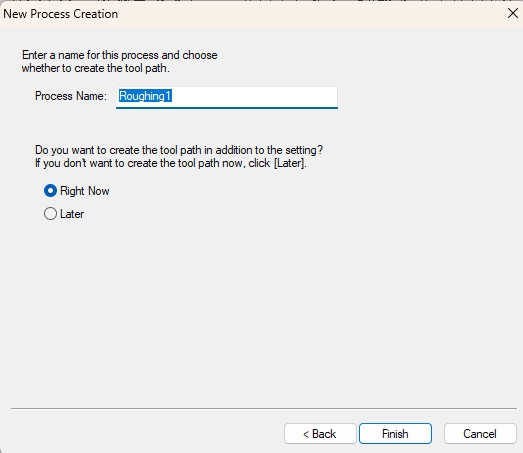
Finish and save the process.
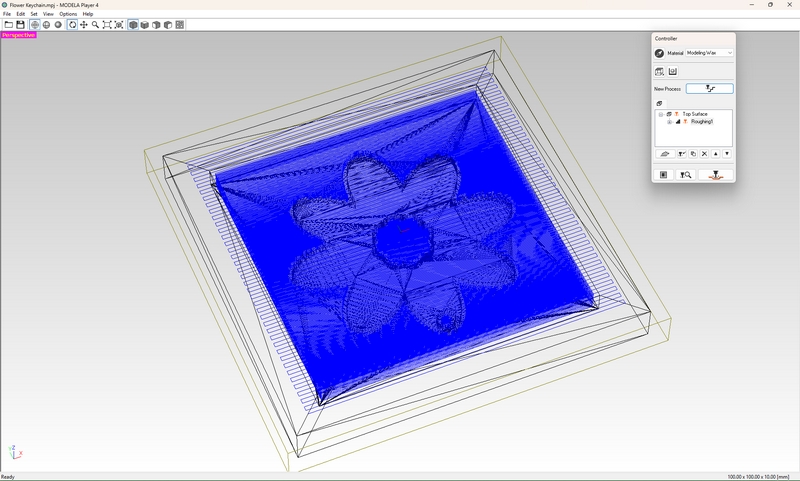
The toolpath is as follows:
Milling
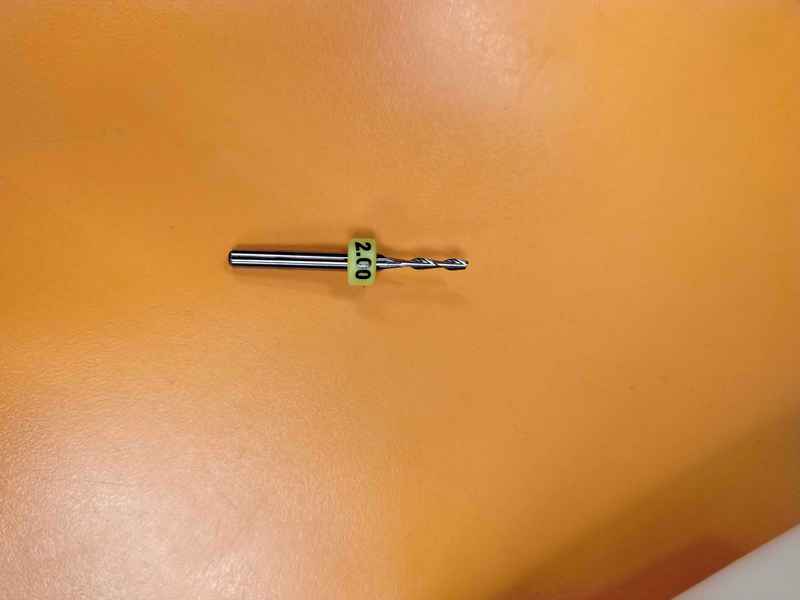
To start the milling, I exported the .pnr file from Modela. I used a 2mm milling bit.
The material for the mold is modeling wax. To ensure that it stays still during the milling process, it needs to be attached to the wood base inside the machine. For this, I stuck tape to the base as well as to the bottom of the wax block. Then I used hot glue to stick the surfaces together.
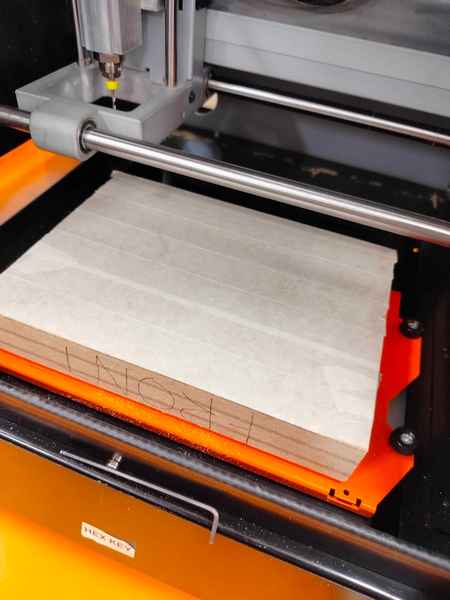
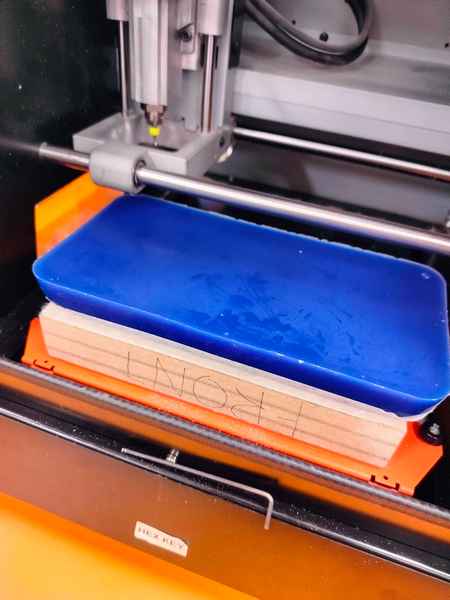
I opened VPanel, which is just a small screen with some controls. The Y buttons move the wood base back and forth while the X buttons move the tool left and right. The Z buttons move the tool up and down. To set the origin, I used the X and Y controls to move the tool somewhere above the middle of the block. Then I used the Z controls to move the tool so that it was almost touching the block. The Cursor Step setting controls the speed of the tool: I used x100 first and then lowered the speed as it got closer to the block.
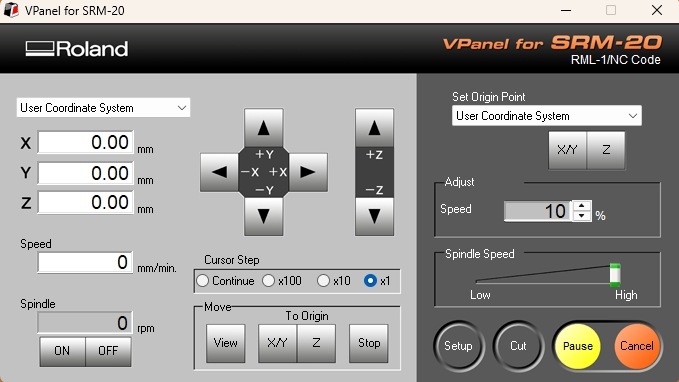
Then I set the X and Y coordinates to 0 to set this position as the origin. I slightly loosened the screw holding the milling bit so it would fall on the block and close the gap. This Z coordinate was now set to 0.
I clicked Cut to start the process.
At the beginning, I set the speed to 10-30%. Having a lower speed helps you make sure the process is going as intended. The tool cuts about 0.2mm above the origin at first in case the surface is uneven. This helps to get rid of any excess material that may cause irregularities in the final product. When it starts cutting the surface, you can then set the speed to 100%.
The process took about 2 hours. The result was as follows:
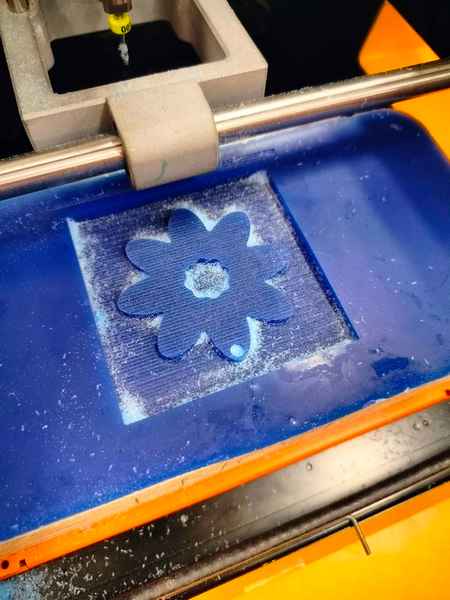
As you can see, the surface is very textured, which goes against the criteria for this assignment. To fix this, I need to cut the shape again but in the Y direction. I chose New Process, and this time, instead of Roughing I chose Finishing, and Scan Lines: X+Y instead of Contour Lines. Then I started cutting.
The result was now much smoother than before.
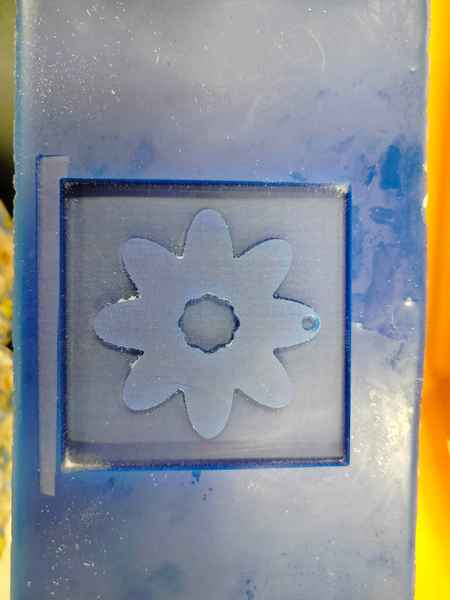
I cleaned off the excess particles with pressurised air. This block was now ready for use.
Creating the Mold
The material I am going to be using is Smooth-Sil 933, a flame resistant silicone. It will create a soft mold, which is feasible for hard casting materials.
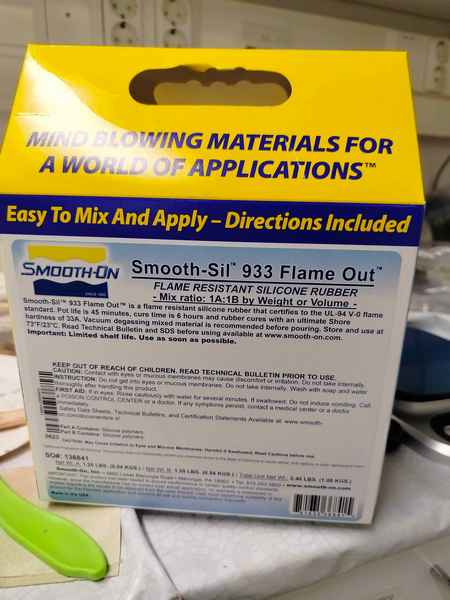
The package comes with two parts, part A and part B. They start hardening once they have been mixed. For this particular product, the pot life is 45 minutes, meaning once the parts have been mixed, the mixture will start hardening after 45 minutes. Cure time is 6 hours.
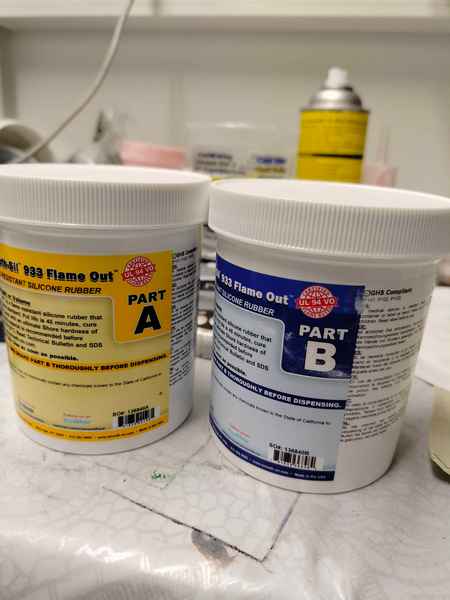
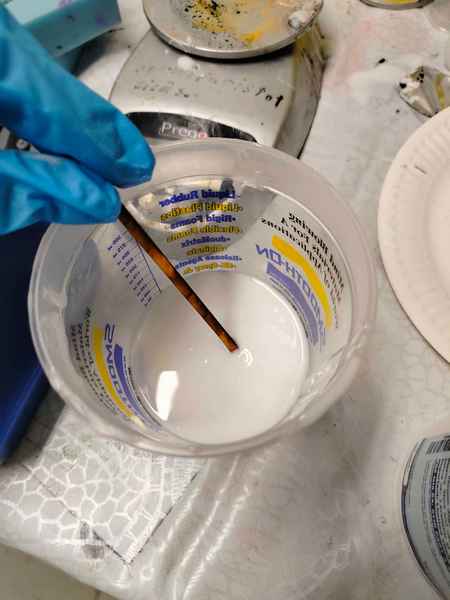
I mixed them by weight in 1:1 ratio, as indicated by the container. Then I stirred the mixture to get rid of air bubbles. When stirring, it is important to make sure you do it slowly and in a shearing motion, instead of up and down or forming scoops.
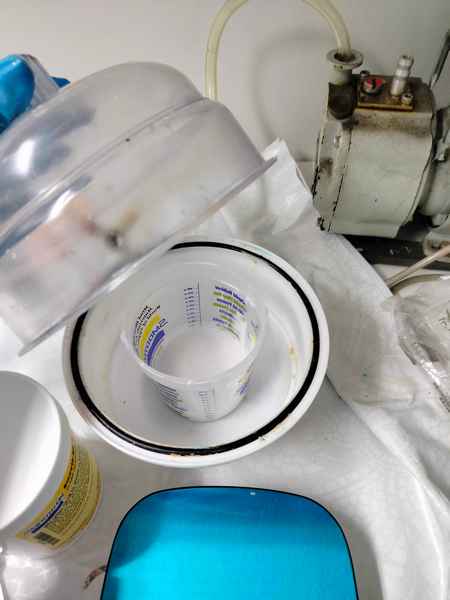
The next step is degassing. The container is placed inside the degas pump, which is then turned on. As the air is sucked out of the space, air bubbles start to rise from the mixture. After several minutes, when air bubbles stop forming, I can turn off the pump and take the container out.
The mixture is poured into the deepest part of the mold, in this case, the center. Make sure to start close to the mold and raise your hand slowly so that a thin trickle falls, which allows any air bubble to escape. Also let the mixture spread out on its own rather than pouring all over the mold.
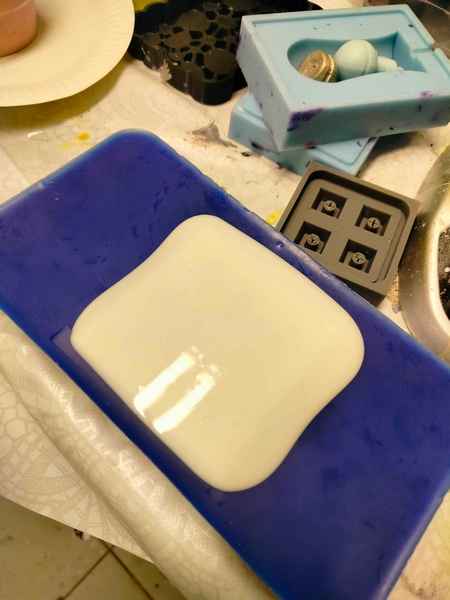
As the cure time was six hours, I came back the next day to get the mold. As you can see, the overflowing material has spread out quite a bit. I was able to pull the mold out with ease.
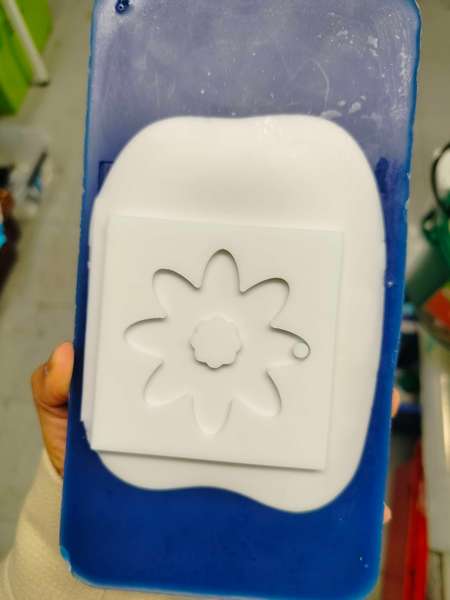
I can now use the mold to cast a keychain.
Casting
This step follows the same process as before, minus the degassing part. I used Smooth-Cast 305, liquid plastic in the colour white. This has a pot life of 7 minutes and a cure time of only 30 minutes.
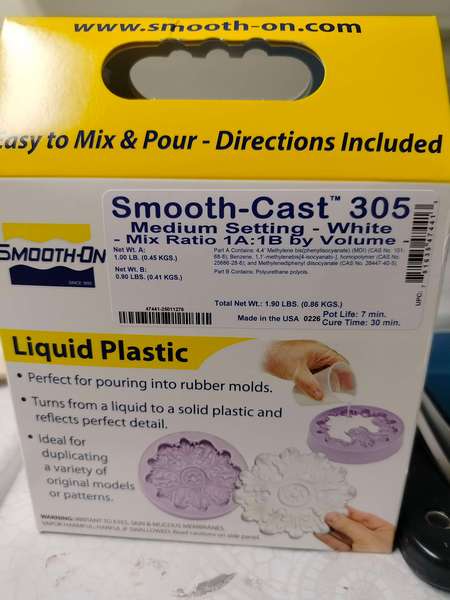
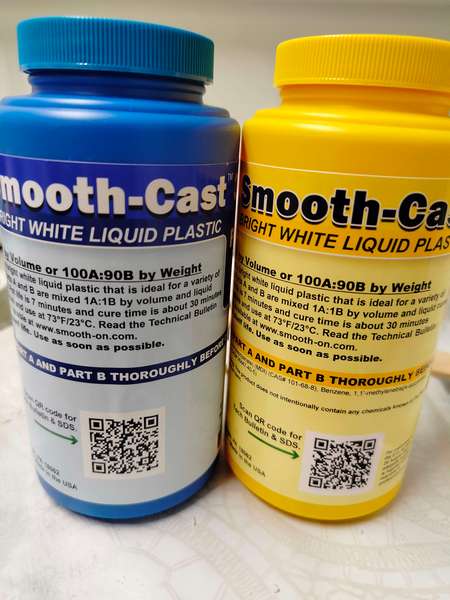
This time, the mixture is colourless but it has some white streaks. I set a timer for 7 minutes and stirred the mixture until it was completely clear.
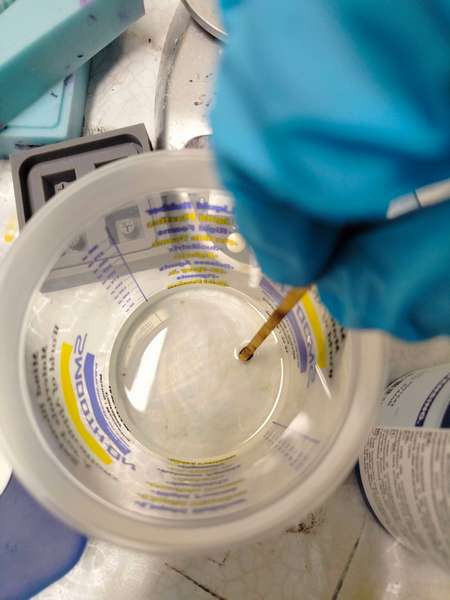
This is what the cast looked like right after pouring, about halfway through, and when it was ready:
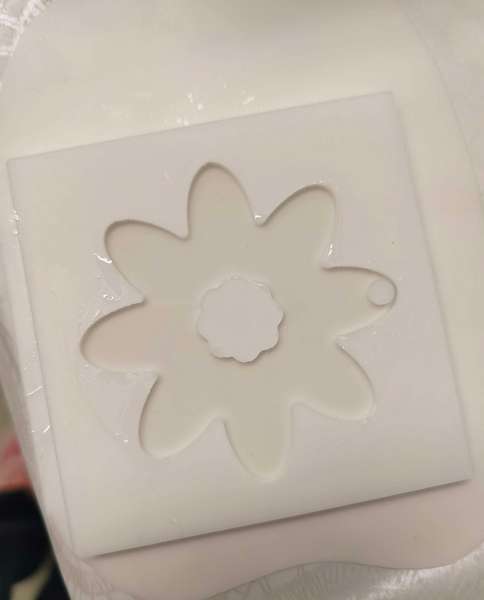
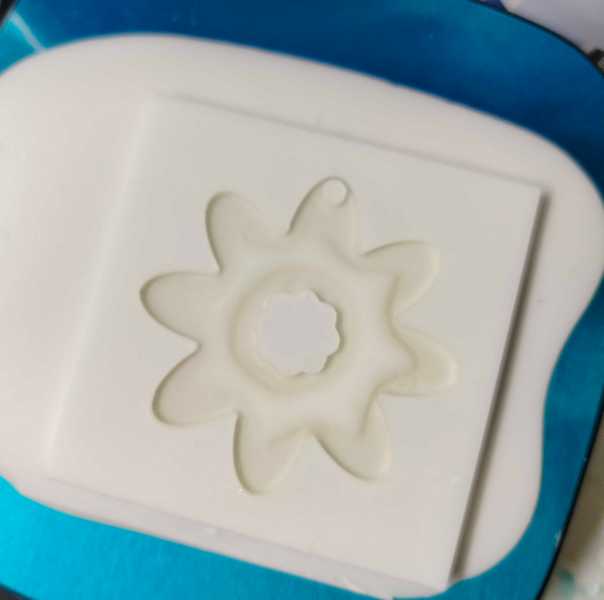
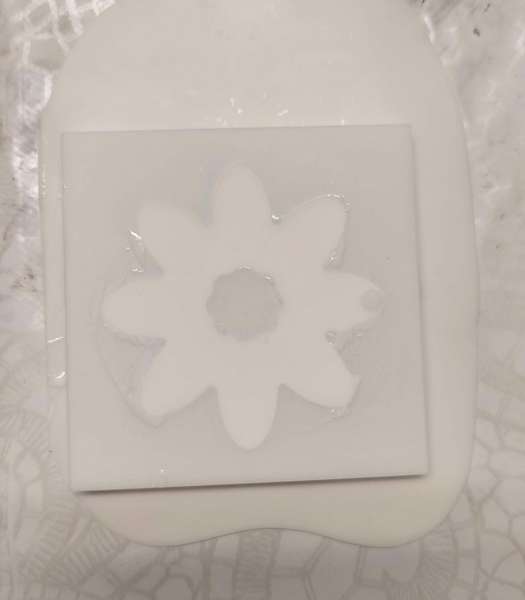
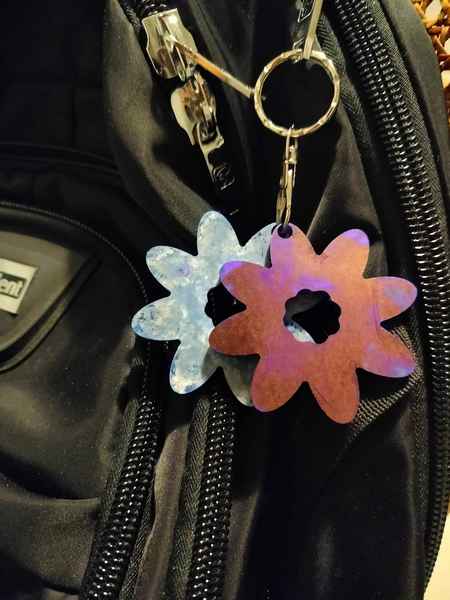
The final product after cleaning up the edges:
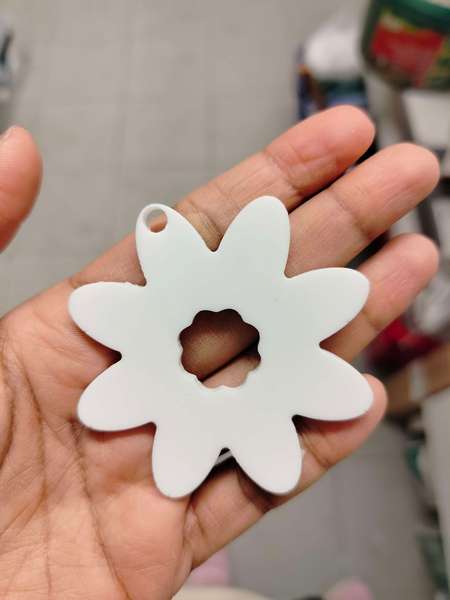
I cast two more keychains, one with Smooth-Cast 300 with a pot life of 3 minutes and cure time of 10 minutes and another with Smooth-Cast 310 with pot-life 15 minutes and cure time 3-4 hours. I didn't notice any structural difference between the keychains of the 3 different types of plastic. Maybe it would be more significant for bigger and/or more complex objects.
I also attempted to paint them with the colours available in our lab. They were highly pigmented and quite hard to work with, and even after 24 hours they were staining my hand.
Design File
Learning Outcome
- About different casting materials
- Safety procedures when using casting materials
- Molding and casting process
Reflection
It was nice to be able to make something that I could use, although I need to figure out the staining problem. I was familiar with the CNC-milling process already, but in a much larger scale and it was interesting to see how it worked for a smaller block. I enjoyed the casting part of this week. I have never worked with hazardous materials before and I was quite careless about the safety rules sometimes (e.g. touching other things with my contaminated gloves). The entire process from designing to milling to casting was rather simple compared to other weeks regardless.