Week 1 - Project Management
Overview
During the first week, we were introduced to the course and we learned how to use Gitlab to set up web pages. We were asked to plan a final project and start building our web page, where our first task would be to write about ourselves and provide an idea of the final project. We were also instructed to learn how to document everything thoroughly.
Setting up Gitlab
Our first task for this course was to download Git and create a Gitlab account. While I have used Github before, I was not overly familiar with it, so the lecture by Professor Iván Sánchez was very helpful.
First, I installed Git and provided my name and email address. I ran the following commands in Command Prompt for this task:
git config user.name Nadira Tasnim
git config user.email "my email"
Next, we had to create SSH keys. An SSH key is a safer form of a password that lets you securely authenticate with Gitlab. Again in Command Prompt, I typed the following command and it created a public and a private key for me to use.
ssh-keygen -t ed25519 -C "<comment>"
The keys were saved in my home directory. I opened the file containing the public key, copied it, and pasted it to Gitlab.

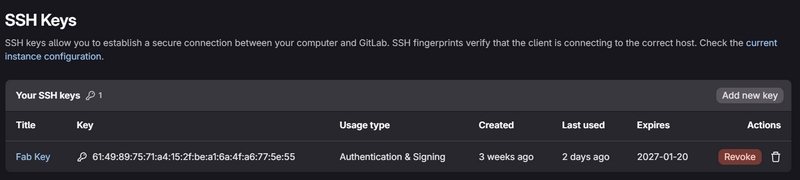
With that done, I would be able to use Gitlab safely, and push and pull from the repository without having to use a username and password every single time. I forked Iván's repository to use to start building my web page. Forking allows me to modify the code as my own without changing the original.
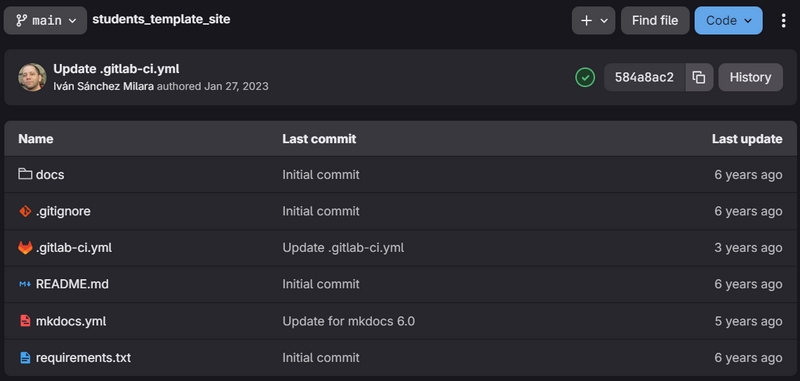
I downloaded the repository to my computer to create a local repository using the clone command. The pull command is used to move everything from the remote repository to the local one. These two commands need only be used once.
git clone url
git pull origin main
This allows me to make changes to the code locally, and, when ready, push the changes to the remote repository in Gitlab, which can then also be shared with others. To store the changes to my local repository, I need to use add and commit (with a message to document the changes that have been made), and push to push the changes to my remote repository.
git add .
git commit -m "message"
git push
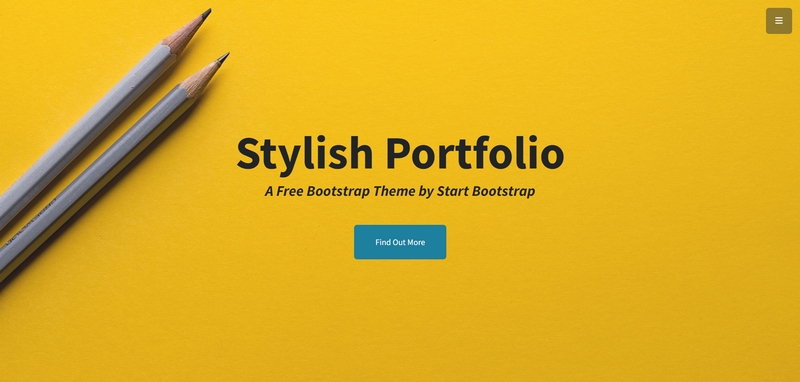
Afterwards, we were shown the basics of HTML and how to set up a web page via Gitlab. We were told that we could start the website from scratch, modify the existing code, or use an available template, depending on our skill level. I have used HTML before but, not being confident enough in my skills and due to time constraints, I decided to use a template. I chose a simple and colourful Stylish Portfolio Template from Start Bootstrap.
Transferring the template to my repository was simple enough. I copied the source code and imported it to my local repository. I needed to make sure the paths to each file or folder were correct so as not to break the path to the css or js files.
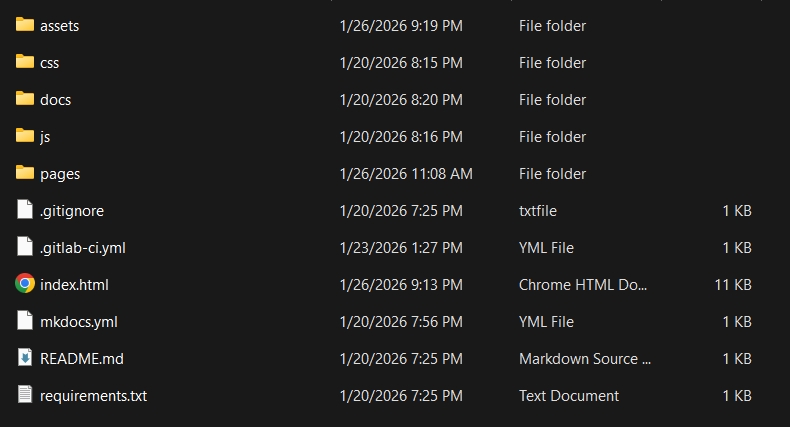
The first thing I did next was to replace some of the main placeholder texts from the template to align with my project. I liked the style of the template a lot, and it had multiple different sections that could be modified in any way for my use. For the time being, I am leaving some sections as they are, and will modify later as needed.

After the initial few changes, I proceeded to try and deploy my web page. I followed a tutorial available on our Moodle page, but some form of error on my end resulted in multiple failed commits.
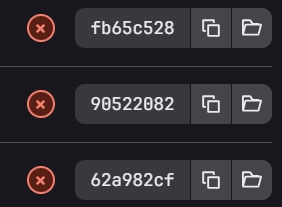
I was able to eventually solve the problem with the help of Professor Gleb Bulygin. There was an error with the .gitlab-ci.yml file, which was not letting me deploy the page correctly.
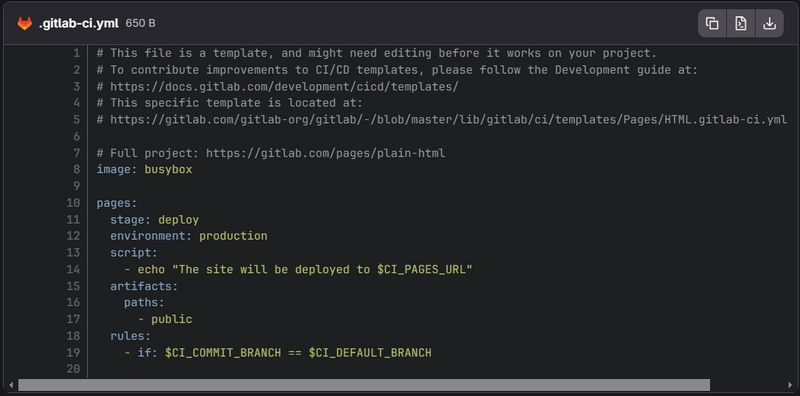

Setting up the web page
After that, I continued to modify and add to the exisiting HTML template. I added the About Me and Final Project page, as well as the Week 1 page. At the moment, the extra pages are unstylised, but I will edit their corresponding css sections soon.
The first draft of the About Me page looks like this:

One problem I am facing while modifying the code is adding a background colour to a page. I have added a class attribute to the body of each page, and implemented a background colour to each attribute.

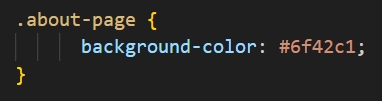
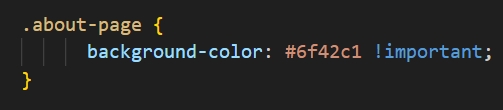
However, the background colour was not showing up on the web page. After looking at some tutorials and forums, I figured that the code was being overriden by some other piece of code in the exisiting template. One trick that worked was adding an !important tag at the end of the css code, which forced the background colour to change. However, I would like to figure out later why it does not work without this tag and how to fix it.
Brainstorming project ideas
The last task for this week was to draft a sketch of my final project, which I have documented in Final Project.
Learning Outcomes
Things I learned over the course of this week:
- Setting up Git.
- More on how to use Gitlab.
- Using Bootstrap to stylise a page.
Reflection
I quite enjoyed the learning process during this week. I have never done such a hands-on course like this before, and I am excited to see where it takes me. Building the website was fun for me. I was not aware of Bootstrap and Markdown as other website building tools, so those are a few things that I wish to look into and learn more about in the future.